Creating a Chat App
Building a Simple Chat App With Elixir and Phoenix
In this curriculum with will build a simple chat app that takes advantage of phoenix’s easy uses of web sockets and evented programming
Goals:
Through this app we will:
- gain a better understanding of web sockets
- learn how to take advantage of Elixir’s Asychronous programming model
Getting Started
# Create a new Phoenix project called chatter
$ mix phx.new chatter
Prepare the app for the first start
There are a few more steps to get our app ready for the first start. First, we need to get into or project directory. Then, we need to create the database that we’ll use later. For now, it’s enough that it exists.
cd chatter
mix ecto.create
Once you’ve copied these commands, you should see output like the following:
02:08:16 matt@pelican
 ~/p/e/chatter>  mix ecto.create
The database for Chatter.Repo has been created
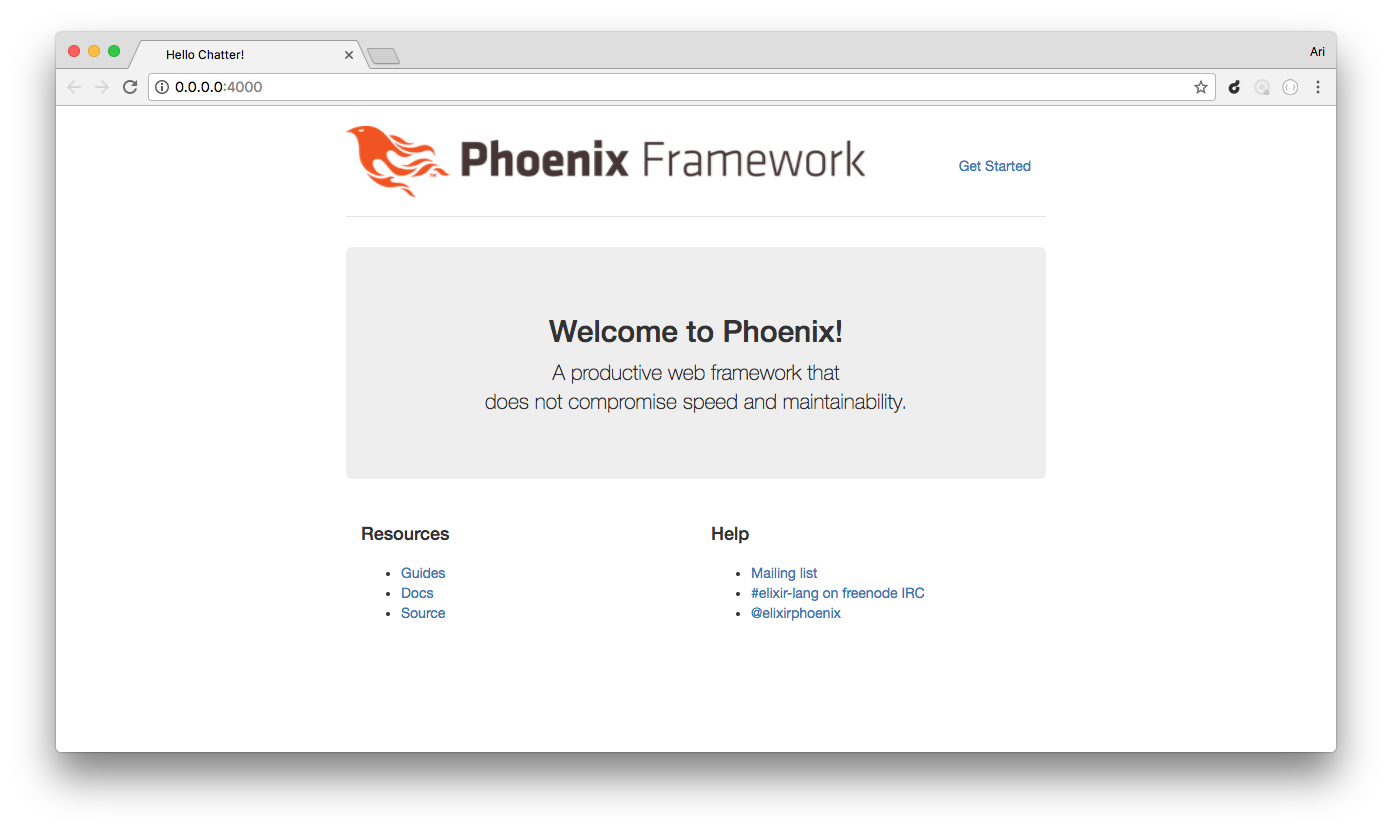
Start the server
mix phx.server
Point your browser to localhost:4000, it should look like this:
Setting up a new Channel
What is a channel
A channel is persisted connection between the browser and the server. A regular request is like sending letters back and forth between the browser and the server. But a socket is more like a pipe or a phone call. Where the connection is always on, and each side can communicate messages efficiently and quickly. In our case, the server can broadcast messages down and the users can send messages up through their browser.
- Down means towards the Clients
- Up means towards the server
In a normal request the server only sends one response. But in the case of web sockets the server can continue to send updates as long as the browser maintains the connections.
So channels use websockets.
Creating the channel file
Since Phoenix 1.3, there’s a built-in mix task for channels that will create files and do some of the boilerplate work for you. The command is mix phx.gen.channel <channel name>. Try it out:
~/p/e/chatter>  mix phx.gen.channel chat_room
* creating lib/chatter_web/channels/chat_room_channel.ex
* creating test/chatter_web/channels/chat_room_channel_test.exs

Add the channel to your `lib/chatter_web/channels/user_socket.ex` handler, for example:

    channel "chat_room:lobby", ChatterWeb.ChatRoomChannel

~/p/e/chatter>
At the end of the command, it tells you to add a line to your lib/chatter_web/channels/user_socket.ex file. You need to do this so the websocket request can be directed to your channel.
chat_room_channel.ex is analogous to a controller in Phoenix, except it is for handling websocket requests instead of http requests.
Looking at the code below,
channel "chat_room:lobby", ChatterWeb.ChatRoomChannel
channel above refers to the channel function in phoenix. It takes a topic (which is just a namespace for websocket connections). In our case the name space is “chat_room:lobby”.
The next argument ChatterWeb.ChatRoomChannel is made up of two parts. The first part ChatterWeb is the name of the app. The second part ChatRoomChannel is the name of the module that handles the “chat_room:lobby” channel. In Phoenix, it’s conventional to namespace all your modules with your app name first. This helps avoid collisions.
The file we’re in, user_channels.ex, is like the router.ex file, but for channels. The topic, in our case chat_room:lobby allows clients to subscribe to the channel. In the same way a path in a web request directs the request the right controller, the topic directs the socket to the right module, in this case, ChatterWeb.ChatRoomChannel.
In our lib/chatter_web/channels/chat_room_channel.ex paste the following
defmodule ChatterWeb.ChatRoomChannel do
  use ChatterWeb, :channel

  def join("chat_room:lobby", payload, socket) do
    if authorized?(payload) do
      {:ok, socket}
    else
      {:error, %{reason: "unauthorized"}}
    end
  end

  # Channels can be used in a request/response fashion
  # by sending replies to requests from the client
  def handle_in("ping", payload, socket) do
    {:reply, {:ok, payload}, socket}
  end

  # It is also common to receive messages from the client and
  # broadcast to everyone in the current topic (chat_room:lobby).
  def handle_in("new_message", payload, socket) do
    broadcast socket, "new_message", payload
    {:noreply, socket}
  end

  # Add authorization logic here as required.
  defp authorized?(_payload) do
    true
  end
end
We now have a bunch of boilerplate code that doesn’t look like much, but it will work without modification to hook up to a front end for our simple chat app. Let’s look a little closer at what the functions are doing.
First, let’s look at the join/3 function. def join("chat_room:lobby", payload, socket) do: it takes three arguments. The name of the channel, "chat_room:lobby", is so that this function is only called when the client is joining that specific channel. The second argument, payload is the request from the user; it can contain auth credentials, a message, anything the user wants.
Finally, it takes socket, which is the websocket connection. There’s a test, authorized?, which always returns true. Then, {:ok, socket} just returns a status and the websocket they are connecting to. join/3 always returns {:ok, socket} to allow all connections to the channel.
Once a user joins to a channel, then they can send messages to the channel and they’ll be received by one of the handle_in/3 messages. The first one just returns the payload sent by the user back to them.
The second one sends the payload to all the users subscribed to the channel. It’s this one that allows us to build out chat room with a little front end work. When we send a message to the chatroom, this function sends it back to you and to everyone else in the channel.
Handling the connections on Client-side
To make things easier, we’ll start by adding jQuery to our lib/chatter_web/templates/layout/app.html.eex:
<script src="https://cdnjs.cloudflare.com/ajax/libs/jquery/2.2.4/jquery.min.js"></script>
<script src="<%= Routes.static_path(@conn, "/js/app.js") %>"></script>
Phoenix comes packed with a simple javascript socket client, but it’s disabled by default. Go into your assets/js/app.js and uncomment the last line:
import socket from "./socket"
Go into your assets/js/socket.js and replace the generated code after the comment Now that you are connected, you can join channels with a topic:
let channel = socket.channel('chat_room:lobby', {});
let list = $('#message-list');
let message = $('#message');
let name = $('#name');

message.on('keypress', event => {
  if (event.keyCode == 13) {
    channel.push('new_message', {name: name.val(), message: message.val()});
    message.val('');
  }
});

channel.on('new_message', payload => {
  list.append(`<b>${payload.name || 'Anonymous'}:</b> ${payload.message}<br>`);
  list.prop({scrollTop: list.prop('scrollHeight')});
});

channel
  .join()
  .receive('ok', resp => {
    console.log('Joined successfully', resp);
  })
  .receive('error', resp => {
    console.log('Unable to join', resp);
  });

export default socket;
socket.channel("chat_room:lobby", {}) sends the join request to the server, and the server sends the message back to the client.
Here, we listen for a keypress event on the message text field. Whenever the user enters a message, it’s pushed on the channel and the text field is cleared. When there’s an incoming message on the channel, it’s appended to the div we previously created and scrolled to the bottom.
Creating the View
Now we have to write the markup and CSS for our chat app. Open lib/chatter_web/templates/page/index.html.eex, and replace its contents with:
<div id='message-list' class='row'>
</div>

<div class='row form-group'>
  <div class='col-md-3'>
    <input type='text' id='name' class='form-control' placeholder='Name' />
  </div>
  <div class='col-md-9'>
    <input type='text' id='message' class='form-control' placeholder='Message' />
  </div>
</div>
We’ve created an empty div that will list all chat messages and two text fields (one for the user’s name and one for the message).
Now open assets/css/app.css and paste this at the end:
#message-list {
  border: 1px solid #777;
  height: 400px;
  padding: 10px;
  overflow: scroll;
  margin-bottom: 50px;
}
Next step:
Go on to Adding a Persistence layer.
Or:
Go back to Recursion.