Deploy to Heroku
Deploy Time!!!
Go to heroku.com
Click on your app
Then click on settings
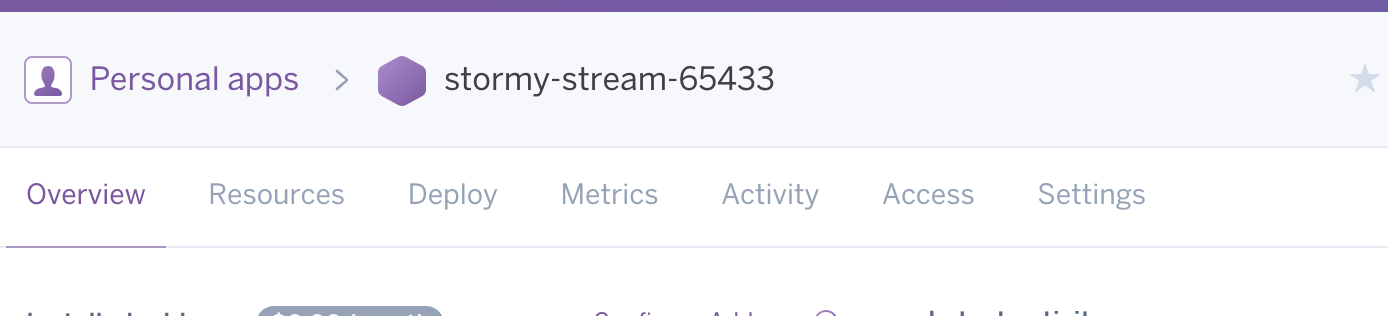
You should see something that looks like this
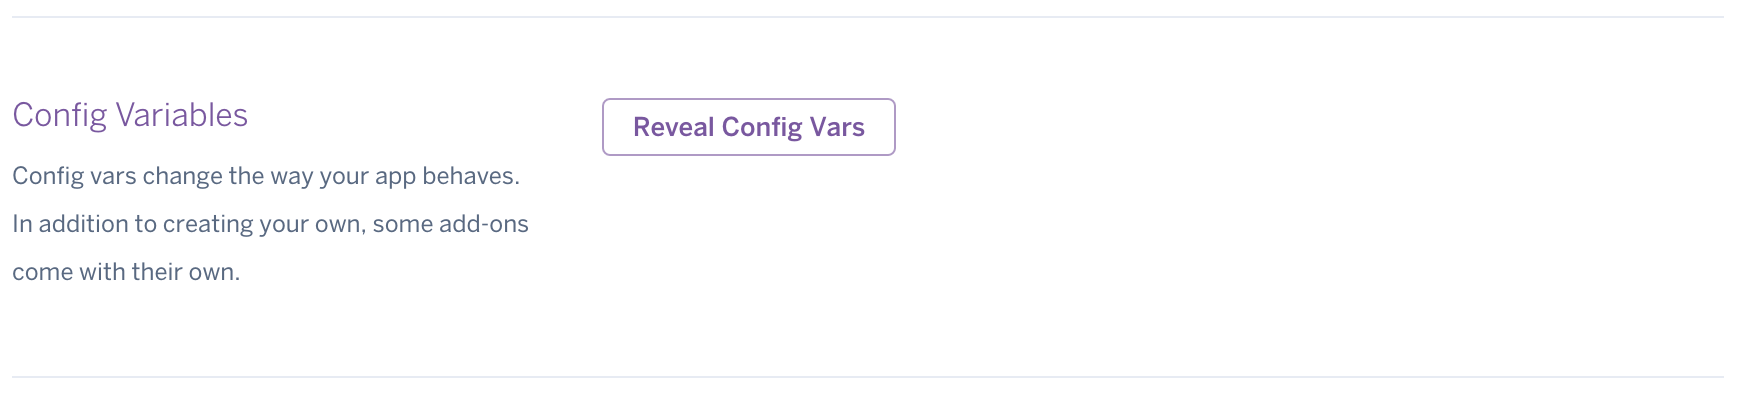
Click on the button that says Reveal Config Vars
Make sure you have the following environment variables set. Note - they may not be set in this same order. Anything not in this list, you should set.
DATABASE_URL: heroku-sets-this-for=you
MIX_ENV: prod  **you need to set this one**
POOL_SIZE: 18
SECRET_KEY_BASE:
Now in the empty row at the bottom of the page

in the first empty field create a new variable called
‘NEW_DATABASE_URL’
Then take a look at the value in your DATABASE_URL variable, by clicking on the pencil icon next to it. It should look something like
postgres://xxxxxxxxxxxxxxx@xxxxxxxxx.amazonaws.com:5432/xxxxxxx
Copy the portion after the @ sign through amazon.com and paste it as the value for the NEW_DATABASE_URL.
So it will be something like abedsd.amazonaws.com.
Then in the next blank field under the var settings type in USERNAME on the right. Then take another look at your database url.
For example this database url look like so
postgres://abscdefg:123456@12-245-123-12.compute-1.amazonaws.com:5432/d51oep5q7b7bbi
It has the following format
postgres://username:password@12-245-123-12.compute-1.amazonaws.com:5432/databse
Copy the username portion of the url and paste is at the left value in your config variables.
Then Click Add.
It should look like this

Do the same for password. Create a Variable called PASSWORD. and then copy the password from the correct portion of the database url
postgres://username:password@12-245-123-12compute-1.amazonaws.com:5432/databse
Do the same again for database. Create a Variable called DATABASE and copy the value from the end of the DATABASE URL. Here is an example -
postgres://username:password@12-245-123-12compute-1.amazonaws.com:5432/database
Your config should look something like this
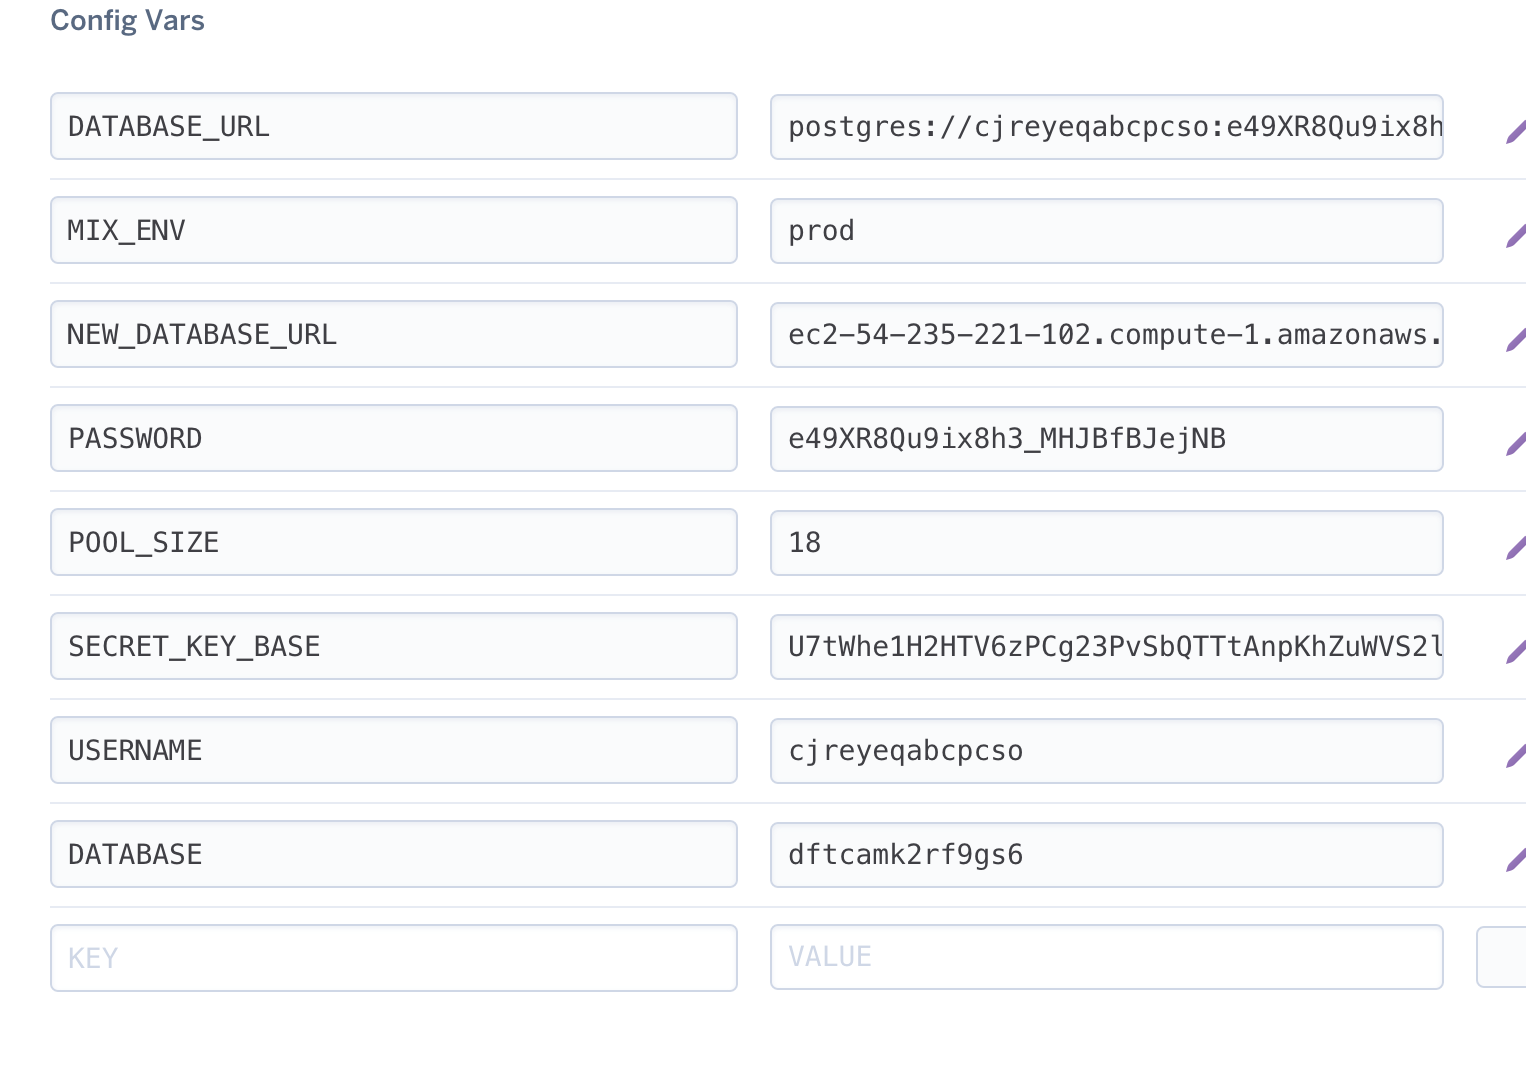
You should have the following variables now defined
DATABASE_URL:
DATABASE:
MIX_ENV:
PASSWORD:
POOL_SIZE:
SECRET_KEY_BASE:
USER_NAME:
NEW_DATABSE_URL:
Then Open up your config/prod.exs file. It should look like this.
# Configure your database
config :test_app, TestApp.Repo,
  adapter: Ecto.Adapters.Postgres,
  hostname: System.get_env("NEW_DATABASE_URL"),
  pool_size: String.to_integer(System.get_env("POOL_SIZE") || "10"),
  ssl: true,
  database: System.get_env("DATABASE"),
  username: System.get_env("USERNAME"),
  password: System.get_env("PASSWORD")
Let’s commit all our changes. Copy each of the lines below into your terminal one at a time. Do not do this all at once.
git add config/prod.exs
git add Procfile.txt
git add lib/test_app_web/channels/user_socket.ex
git commit -m "Use production config from Heroku ENV variables and deploy environment"
And now DEPLOY!!
Type this into your terminal:
git push heroku master
You will see a bunch of stuff and at the end you will see
remote:
remote: Verifying deploy.... done.
To https://git.heroku.com/stormy-stream-65433.git
   ae7601a..e5c410b  master -> master
Annas-MacBook-Pro-3:test_app anheroku logs -a stormy-stream-65433
If you do not see the ‘Verifying deploy…done’, ask a TA for help.
next type the following into your terminal
npm install brunch
then type
node_modules/brunch/bin/brunch build --production
Finally type
heroku run "mix ecto.migrate"
YAY all done!
Type
heroku open
to see your app.
Next step:
Go on to Why program? Why elixir?.
Or:
Go back to Deploy a Phoenix App.