Create a Phoenix App
Step 1: Change to your home directory
Mac or Linux
Type this in the terminal:
cd ~
cd ~ sets our home directory to our current directory.
Step 2: Create an Elixirbridge directory
To keep things organized, we’ll want all of the elixirbridge files in their own directory. Type this in the terminal:
mkdir elixirbridge
mkdir stands for make directory (folder). We’ve now made a folder called elixirbridge.
Step 3:
Change to your new elixirbridge directory. Type this in the terminal:
cd elixirbridge
Step 4: Create a new Phoenix app
Type this in the terminal:
mix phx.new test_app
The command’s output is a list of the files it creates, which will be fairly long. We’ll go into detail about what these files are later.
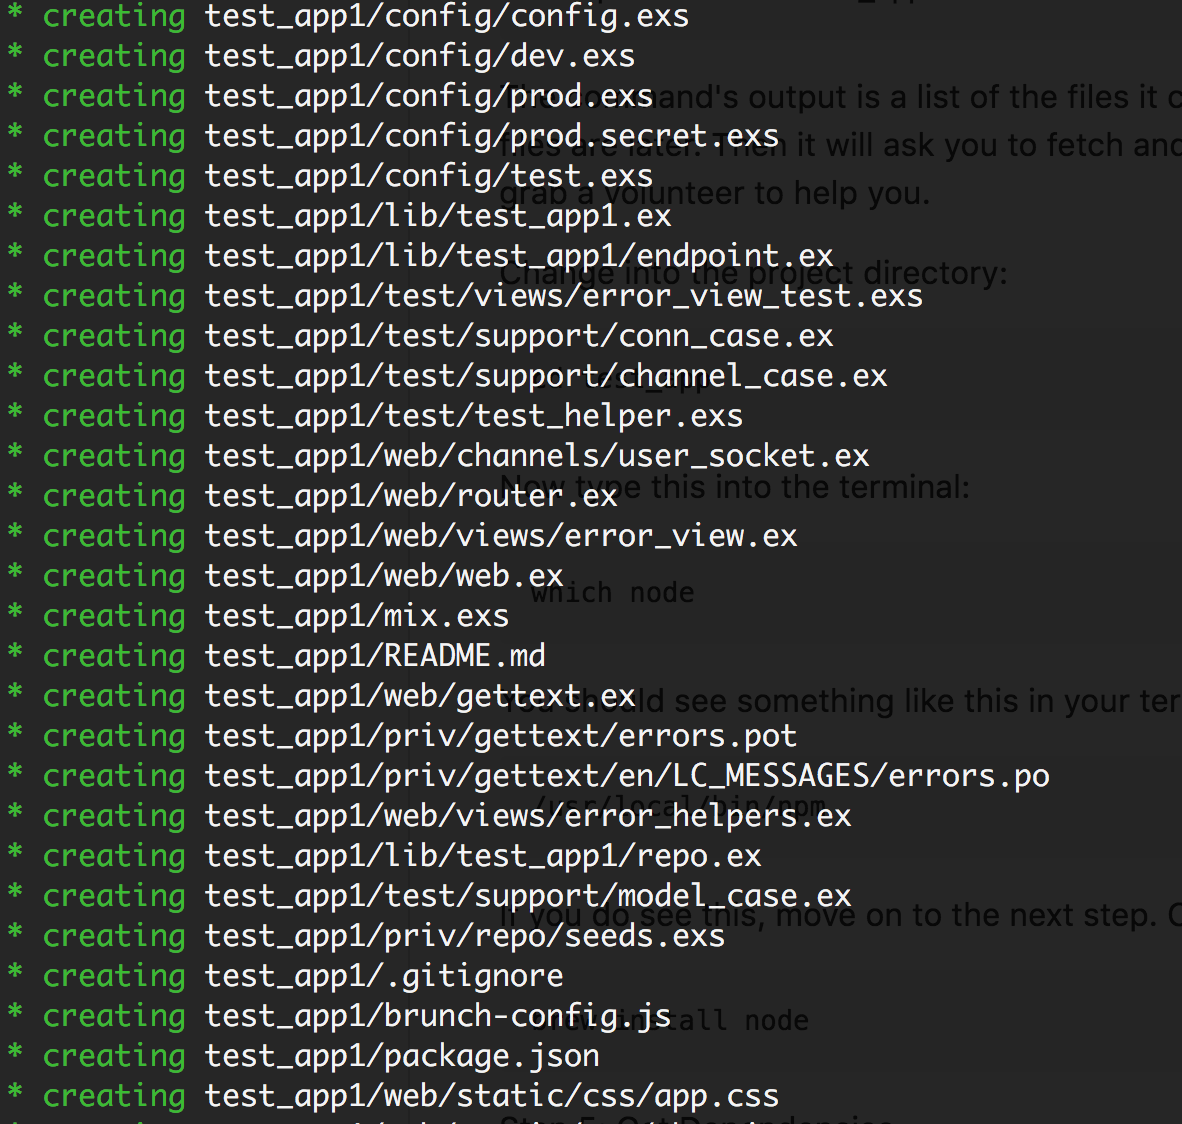
Then it will ask you to fetch and install dependencies, type Y to do this. If there’s an error at this point, grab a volunteer to help you.
Change into the project directory:
cd test_app
Now type this into the terminal:
which node
You should see something like this in your terminal:
/usr/local/bin/npm
If you do see this, move on to Step 7: Create the Database. Otherwise, type the following into your terminal:
brew install node
Step 5: Get Dependencies
Type the following into your terminal:
mix deps.get
- On Windows, you may need to add the line to your mix.exs file
{:plug_cowboy, "~> 1.0"}
Step 6: Install npm and node
cd assets && npm install && node node_modules/brunch/bin/brunch build
cd ../
Step 7: Create the database
Type this in a terminal:
mix ecto.create
Then, type this in a terminal:
mix phx.server
If the Phoenix server starts up with no errors, you’re golden! It’ll look something like this:
[info] Running TestApp.Endpoint with Cowboy using http://localhost:4000
21 Aug 13:06:41 - info: compiled 6 files into 2 files, copied 3 in 958ms
In your browser, open localhost:4000. You should see a page like this:

Hit Ctrl c twice to stop the server.
Next step:
Go on to Generate a Database Model.
Or:
Go back to Create a Heroku Account.